
You have a complete set of tools (well everything you think you need) and have them all neatly hanged on marked pegboards. You also have all your supplies neatly stocked in labeled cabinets. The only thing you haven’t dealt with is your dirty, oily and cracked concrete slab! A Los Angeles garage floor epoxy is what you need to put the finishing touches in this functional space.
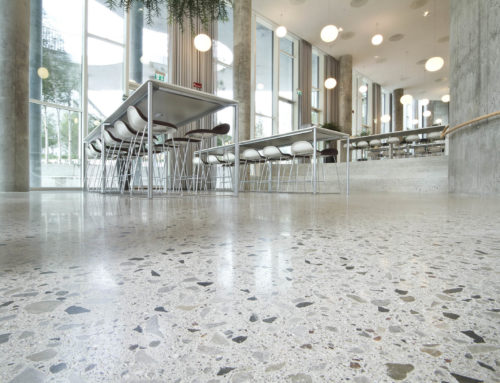
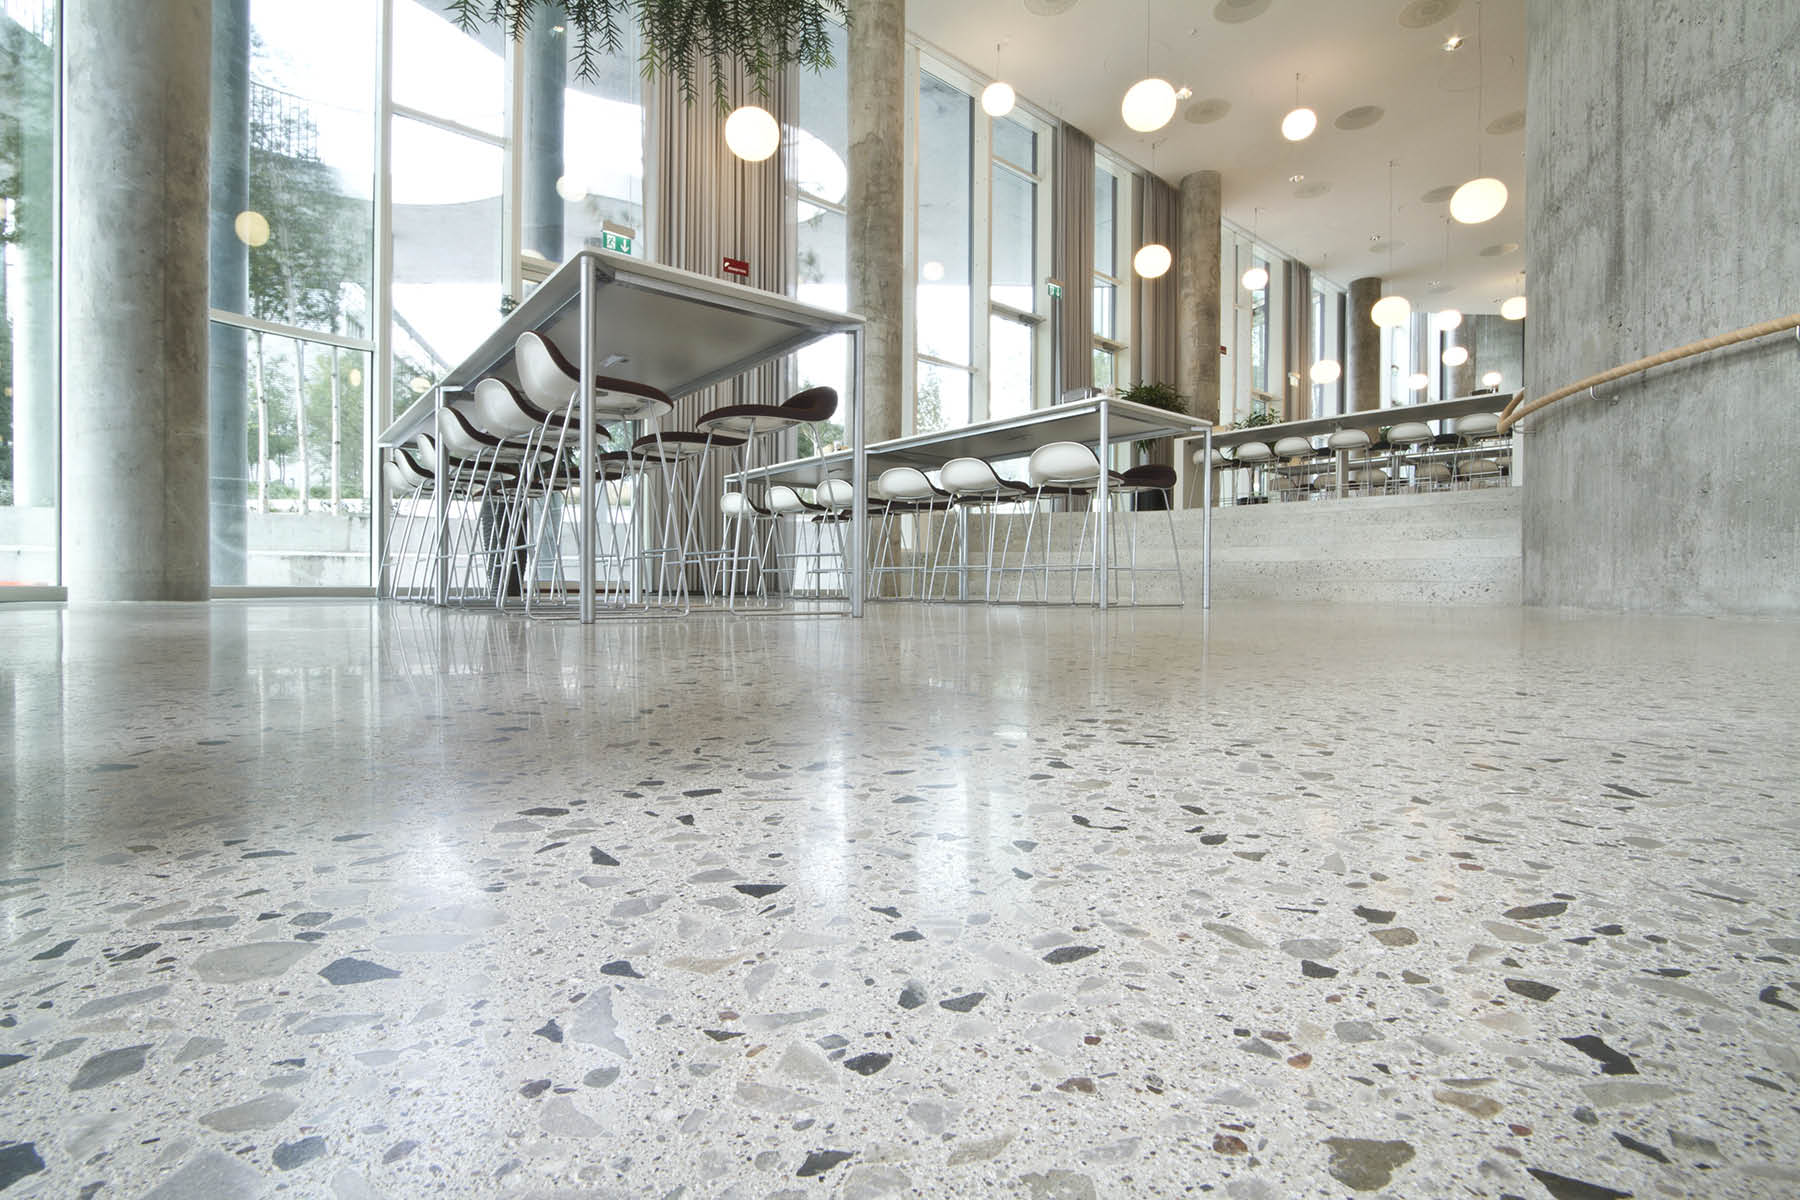
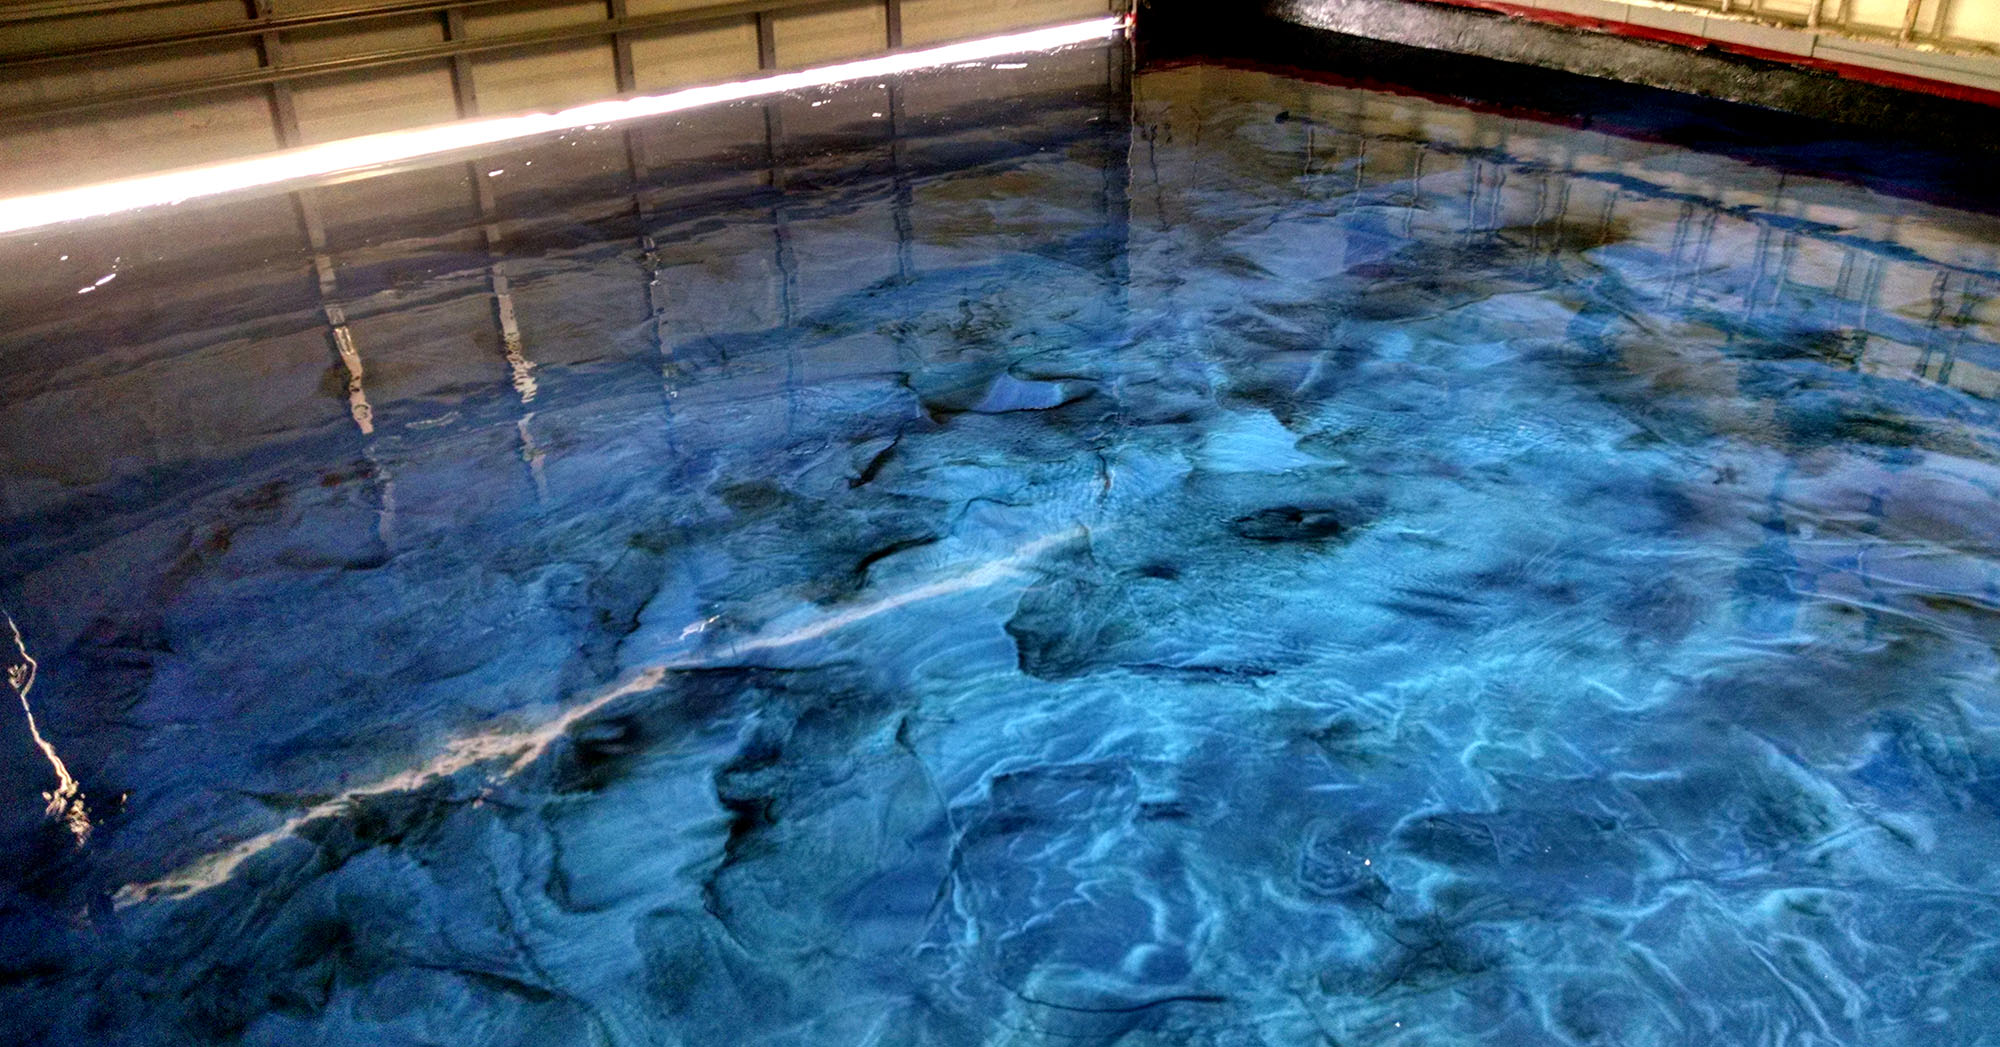
Epoxy is probably the best option you have to create a garage with an auto showroom look. The shiny and colorful coating will transform your dirty and oily concrete garage floor into an aesthetically appealing garage that will not only house your vehicles but can also be an extension of your living areas.
Epoxy will not only give you a beautiful garage floor, it will also give you a garage floor that is tough, durable and resistant to abrasion, chemical stains, moisture, dust and dirt. Los Angeles epoxy garage floor is seamless and smooth thus easy to clean and maintain. Moreover, epoxy garage floors will last a lifetime without any chips and cracks.
Los Angeles, California epoxy garage floor installation can be a do-it-yourself project if you have the know-how and patience for the job. Epoxy garage floor kits are easily available in home depot stores.
Things You Need:
Prior to getting started, assemble all the products, tools and equipment you need.
- Epoxy Garage Floor Kit (this includes all the supplies you will need. If you want to add epoxy color flakes you will have to buy them separately).
- Broom or vacuum cleaner
- Pressure washer or hose
- Floor scraper
- Garden watering can (plastic)
- Heavy duty degreaser
- Stiff bristle floor scrubber
- Nylon bristle floor scrubber
- Floor squeegee
- Notch squeegee
- Self-leveling caulk
- Self-leveling concrete mix
- Concrete patch compound or joint filling
- Low-grit sandpaper or floor grinder (with masonry wheels or diamond abrasives ) / hand-held grinder
- Moisture meter
- Painter’s tape
- Mild detergent
- Epoxy color flakes or decorative chips (optional)
- Protective topcoat (optional)
Instructions:
Assess Condition of the Concrete Surface
Assess the concrete surface and look out for holes, serious cracks, blemishes, dust, dirt, debris, existing sealants, unwanted materials, and moisture. This is so you know what you are dealing with.
Thoroughly Clean the Concrete Surface
Proper preparation of the concrete surface is an important step in epoxy garage floor installation because the epoxy product will only bond well with a smooth and clean concrete surface.
- Thoroughly clean the concrete surface with a broom or vacuum cleaner to get rid of dust, dirt, and debris.
- Scrape any glue, paint, tape or anything stuck on the concrete surface.
- Use a pressure washer or hose to wash out everything from the garage.
- With the concrete floor still wet, spray heavy duty degreaser on grease and oil and scrub using a stiff bristle floor scrubber. Rinse with the hose or pressure washer.
- Load the floor etching mix solution (included in the epoxy kit) into a plastic garden watering can. Sprinkle solution on the concrete floor. Expect fumes when the etching solution reacts with the concrete surface.
- Scrub the etching solution on the floor using a nylon bristle floor scrubber. The solution will start to be muddy. This means it is making the concrete surface porous.
- Rinse off the etching solution with a pressure washer or hose.
- Bring out pooling water out of the garage with a floor squeegee.
- Allow the concrete floor to dry.
Fill in the Gaps, Holes and Cracks
Fill the gaps on the concrete slabs with a self-leveling caulk. For large gaps and cracks, pour a self-leveling concrete mix over the surface. Allow the gaps and cracks to cure overnight.
Grind the Concrete Surface
The epoxy product will only adhere to a level and smooth concrete surface. Grind the concrete surface with low-grit sandpaper. If you are using a floor grinder, hand-held grinder, just lightly grind the floor. If you are using a floor grinder, use masonry wheels or diamond abrasives.
Check for Moisture
The presence of moisture is often the cause of epoxy installation failure. Make sure the concrete surface is completely dry. You can use a moisture meter to check for the presence of moisture in the concrete surface.
Protect the walls of your garage by placing painter’s tape on the skirting boards.
Preparing the Epoxy
Included in the epoxy kit are two containers. One container contains the resin and the other the hardener. Mix contents of both containers in clean buckets. Make sure to thoroughly mix them. Epoxy should be applied to the concrete floor within two hours.
Applying Epoxy
Pour epoxy on the floor then spread the product across the floor with a notch squeegee starting from the corner. Spread the epoxy material evenly across the entire floor. Allow the epoxy to cure for at least half a day to ensure the surface is completely dry. Apply a second coat over a completely dry first coat.
If you are adding color flakes or decorative chips, use your hand to spread them across the floor.
Applying the Protective Topcoat
For more durability, apply a protective topcoat over your epoxy garage floor. Although optional, many professional epoxy installers recommend a protective topcoat.
Curing Time
Allow your epoxy garage floor to cure for at least 24 hours. After such time, light foot traffic can be allowed. Allow your new epoxy floor to cure for a week before you bring in your vehicles. Check on the manufacturer’s recommendation for curing time.
Garage Floor Kits
There are DIY Garage Floor Epoxy Kits available but they usually aren’t as great as professional epoxy floor installers. If you are looking for a cost effective solution you can use one of these kits, but buyer beware that they might end up curing if the process we outlined above isn’t followed perfectly.
Installing Los Angeles epoxy garage floor is a popular do-it-yourself project. If you are up to the challenge, give it a try. If you are not too confident, have the professionals do the job.

